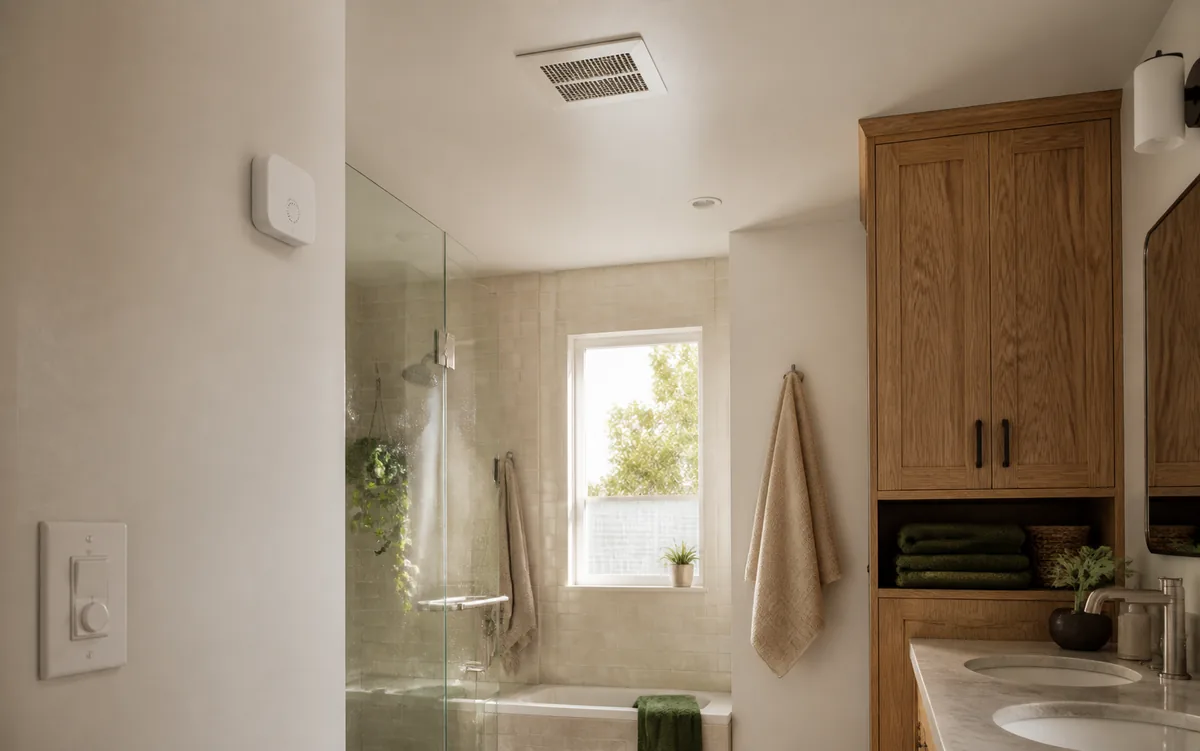
Use a humidity rise to start and a dry-room level to stop
The most reliable Home Assistant bathroom-fan automation uses two different decisions. It starts when the room's humidity climbs unusually fast, which is a good sign that a shower has begun. It stops after the reading settles close to the bathroom's normal dry level—or close to a humidity sensor in a nearby dry room—for several minutes.
This works better than “turn on above 60%” in many climates. A bathroom might sit near 60% on a muggy summer day without anyone showering, yet begin a winter shower at 32%. A rise of several percentage points over a short period follows what changed in that room. There is no universal rise number: observe your own sensor through several showers, then set the trigger below the smallest clear shower rise and above ordinary noise.
Home Assistant now has a simple Relative humidity crossed threshold trigger for a fixed level. It fires once when the reading enters the chosen zone instead of firing on every update that remains above it. That makes it a good first version when the bathroom's dry humidity stays in a narrow range. An automation is the saved “when this happens, do that” rule. A helper is a saved or calculated value the rule can use. For a more seasonal setup, a Statistics helper can report the change over a recent window, while a Derivative helper estimates the speed of change. Both can be created from the Helpers screen without installing extra software.
A sensible first target: let the automation recognize the shower, keep the fan on for at least 10–15 minutes, wait for the room to remain near its dry reference for 5–10 minutes, and force the automatic cycle to end after 45–60 minutes. Treat those as starting values to test, not universal ventilation rules.
Choose the simplest method that survives your weather
| Control method | Best fit | What it does well | Main caveat |
|---|---|---|---|
| Fixed humidity threshold | Stable indoor climate and a clear gap between dry and shower readings | Fastest to build with the Relative humidity crossed threshold trigger or Generic Hygrostat | Can start on muggy days or miss a shower when the room begins very dry |
| Five-minute humidity rise | Most bathrooms with a sensor that updates often | Detects the shower-related change instead of one absolute number | Needs observation and tuning; a slow-reporting sensor may react late |
| Bathroom versus nearby room | Homes with another dependable humidity sensor outside the bathroom | Creates a useful seasonal reference for deciding when the bathroom is dry again | The reference sensor must be in a genuinely drier space, not the steamy hallway |
| Purpose-built humidity fan or control | Households that want ventilation independent of smart-home software | Can keep responding locally when Home Assistant or the network is unavailable | Offers less room-by-room coordination and still needs correct sizing and installation |
The US Environmental Protection Agency says indoor relative humidity should generally stay below 60%, ideally around 30–50%. That is useful whole-home moisture guidance, not a universal fan-start number. A bathroom will briefly rise above the rest of the home during a shower; the useful question is whether ventilation brings it back down and whether any wet surface or moisture problem persists.
Build the dependable version in seven steps
- Confirm ordinary control first. Make sure the fan works from a physical switch and that Home Assistant shows the correct fan or switch state. If it is an in-wall smart control, it must be rated for the fan motor and installed according to its instructions and local rules.
- Place the humidity sensor thoughtfully. Follow the maker's instructions. Keep it outside direct spray and away from the exhaust grille, an open window, or a heating and cooling vent. Let it report for a day before judging it.
- Record at least three normal showers. In the sensor's history, note the dry reading, the change during the first five minutes, the peak, and the time it takes to settle. Include a muggy day if possible. This turns a guessed threshold into a household-specific one.
- Create the rise helper. Open Settings > Devices & services > Helpers > Create helper > Statistics. Choose the bathroom humidity sensor, the Change characteristic, and a five-minute maximum age. Use a generous sampling size, such as 50, so it does not cut off readings that still belong in the five-minute window. A Derivative helper with a five-minute time window is another valid way to smooth and measure the rise.
- Create the start automation. Trigger when the five-minute change rises above the smallest reliable shower increase you observed. Requiring it to remain above that level for a short period can reject a single bad reading. The actions should turn on a Toggle helper called Bathroom fan automatic cycle—the marker that remembers this run belongs to the automation—then turn on the fan.
- Create the stop automation. With one humidity sensor, start with a Below trigger set a few percentage points above the bathroom's usual dry reading and require it to stay there for 5–10 minutes. Recheck that number when the season changes. With a nearby dry-room sensor, compare the two using a Template helper—a calculated sensor that subtracts the dry-room reading from the bathroom reading—or a reviewed community blueprint. In either version, require the automatic-cycle marker to be on and the minimum run time to have passed; then turn off the fan and marker together.
- Add a separate maximum-runtime rule. If the automatic-cycle marker is still on after the chosen limit, turn the fan off, clear the marker, and send a low-priority notice if you want to investigate. A missing or stale humidity reading should never leave an automatic cycle running forever.
A Statistics helper is especially convenient here because Home Assistant's own documentation includes a five-minute bathroom-humidity change example and says recorded history can restore its recent samples after a restart. A Derivative helper is useful when readings arrive in visible steps; its time-window option smooths short noise. A Trend helper can label a reading as rising or falling, but it needs at least two updates and a falling reading alone does not prove the room is dry.
If your sensor reports only when humidity changes by a large amount, a five-minute calculation may be late or uneven. Do not hide that with an extremely sensitive threshold. First check the device's update behavior and battery settings, then use a longer window if needed.
Keep manual control from fighting automatic shutoff
An automatic stop should turn off only a fan cycle that the automation started. The clear way to remember that is a Toggle helper named something like Bathroom fan automatic cycle. The start rule turns the helper on; the normal stop and maximum-runtime rules check that it is on, then clear it when they finish.
If a person turns the fan on while that helper is off, the automatic stop ignores it. If someone needs to take over during an automatic cycle, provide a visible Manual fan hold toggle or a dependable separate button gesture that clears the automatic-cycle marker. A plain fan state often cannot reveal whether a wall switch, app, voice command, or automation caused the change.
This is the same household handoff described in Tara's manual-override guide: make the pause or hold visible, give it an understandable reset, and do not expect Home Assistant to infer intent from every state change.
Handle back-to-back showers without restarting the timer
The fan may already be running when the next person starts a shower. That should extend the drying cycle, not create a second competing run. The plain solution is a Timer helper named Bathroom fan minimum run. Have every clear shower rise start that timer. Home Assistant restarts an active timer when it receives another start action, so the second shower moves the earliest possible stop later. When the timer finishes, let the stop automation check the dry-room condition; the timer ending is permission to check, not proof that the room is dry.
Do not use “fan has been on for 15 minutes” as the only stop rule. Fifteen minutes after the first person begins may be the middle of the second shower. The minimum time prevents a brief false off; the humidity settling rule decides whether drying is actually done; the maximum time catches faults.
When a fixed threshold is good enough
If the bathroom normally stays between, for example, 40% and 48% and every shower quickly passes 60%, a fixed threshold can be perfectly understandable. In a new automation, choose the bathroom sensor, select Relative humidity crossed threshold, choose Above, and enter the wet threshold you observed. Use a separate Below crossing with a lower value and set For at least to 5–10 minutes for stopping. Different on and off values prevent rapid switching around one number.
The Generic Hygrostat helper can also control one switch as a dehumidifier from a target humidity, with tolerances and a minimum cycle duration. It is still a fixed-target controller, so it is most suitable when your seasonal dry range is stable. If summer humidity reaches the on point without a shower, move to a shower-rise start rather than raising the threshold until winter showers are missed.
Plan for stale sensors, restarts, and outages
- Sensor becomes unavailable: do not treat a missing value as “dry.” Keep the maximum-runtime rule and make the sensor problem visible.
- Home Assistant restarts mid-shower: test whether the automatic-cycle helper and recent Statistics data restore as expected. The Toggle helper restores its previous state unless you configure an initial value; Statistics can reload recent sensor readings when Home Assistant's history recording is enabled, as it normally is.
- Fan command fails: confirm the actual fan state instead of assuming an action call succeeded. A notification is useful if an automatic cycle starts but the fan remains off.
- Internet goes down: locally connected sensors and fan controls may still work, but cloud-dependent devices may not. Test your exact control path rather than assuming “Home Assistant” automatically means local.
- Home Assistant server is down: new software decisions cannot run. The physical wall control—and any independent humidity control built into the fan—should remain understandable and usable.
Use the automation trace checklist when the trigger, condition, or fan action does not behave as expected. If the room must ventilate even when the smart-home controller is unavailable, read the local fallback guide and choose hardware that keeps an independent control path.
Test with real showers before trusting it
- Watch one run without controlling the fan. Let a temporary test automation notify or log when it would start and stop. Confirm the proposed events match the shower.
- Test a humid day and a dry day. The start rule should ignore a slow whole-home weather change.
- Test a short shower. Confirm the minimum run time prevents an immediate stop.
- Test back-to-back showers. The fan should remain on and the dry decision should move later.
- Test manual on and manual off. The automation should not immediately reverse the person's choice.
- Temporarily make the sensor unavailable. Confirm the maximum-runtime rule remains able to end an automatic cycle.
- Restart Home Assistant in a safe window. Check the cycle marker, helpers, fan state, and next stop decision.
Keep ventilation and electrical safety independent
Home Assistant can improve when a fan runs; it cannot correct an undersized or blocked fan, a duct that vents into the wrong space, a water leak, or existing mold. Clean and maintain the fan as its manufacturer directs, deal with persistent moisture at its source, and use appropriate professional help for ventilation, moisture, or mold problems.
Do not use an ordinary smart-light control unless it is explicitly suitable for the fan load and installation. Bathroom wiring locations and electrical rules vary. Keep the normal physical control, follow the fan and control manufacturers' instructions, and use a qualified electrician where required. A purpose-built humidity-sensing exhaust fan is often the simpler choice when independent operation matters more than advanced Home Assistant coordination.
Tara's practical approach
A good bathroom automation has one understandable job: notice the shower, dry the room, and then get out of the way. Start with history from the actual bathroom, use a rise instead of a magic percentage when the seasons demand it, and keep manual control obvious.
A configured local home-automation system should document the fan's start, stop, hold, timeout, and outage behavior in plain language. Build and test those five pieces before adding occupancy, lighting, heating, or window conditions that make a simple room harder to diagnose.
Frequently asked questions
What humidity should turn on a bathroom fan in Home Assistant?
There is no universal trigger percentage because normal indoor humidity changes with weather and ventilation. A dependable starting rule watches for a quick rise over about five minutes. Use a fixed percentage only after observing that it stays above the bathroom's normal dry range in every season.
How long should the bathroom fan run after a shower?
Run it until bathroom humidity has returned close to a dry-room reference or recent baseline for several minutes. Add both a minimum run time to prevent short cycling and a tested maximum time so a failed sensor cannot leave the fan on indefinitely.
Where should a bathroom humidity sensor go?
Follow the sensor maker's placement instructions and keep it outside direct spray, away from the exhaust grille, and away from an open window or supply vent. Check that it updates often enough to show a shower-related rise rather than only an occasional large jump.
Can the wall switch still control an automated bathroom fan?
It should. Keep an ordinary physical control and make automatic shutoff act only on a fan cycle that the automation started. A visible Manual hold helper is the clearest option when the device cannot reliably report whether a person or an automation changed it.
What happens to the bathroom fan if Home Assistant is down?
That depends on the fan control. A physical switch or a purpose-built fan with its own humidity sensor can still work without Home Assistant. An automation-only smart control will not make new decisions while the server or required device connection is unavailable, so preserve manual operation.