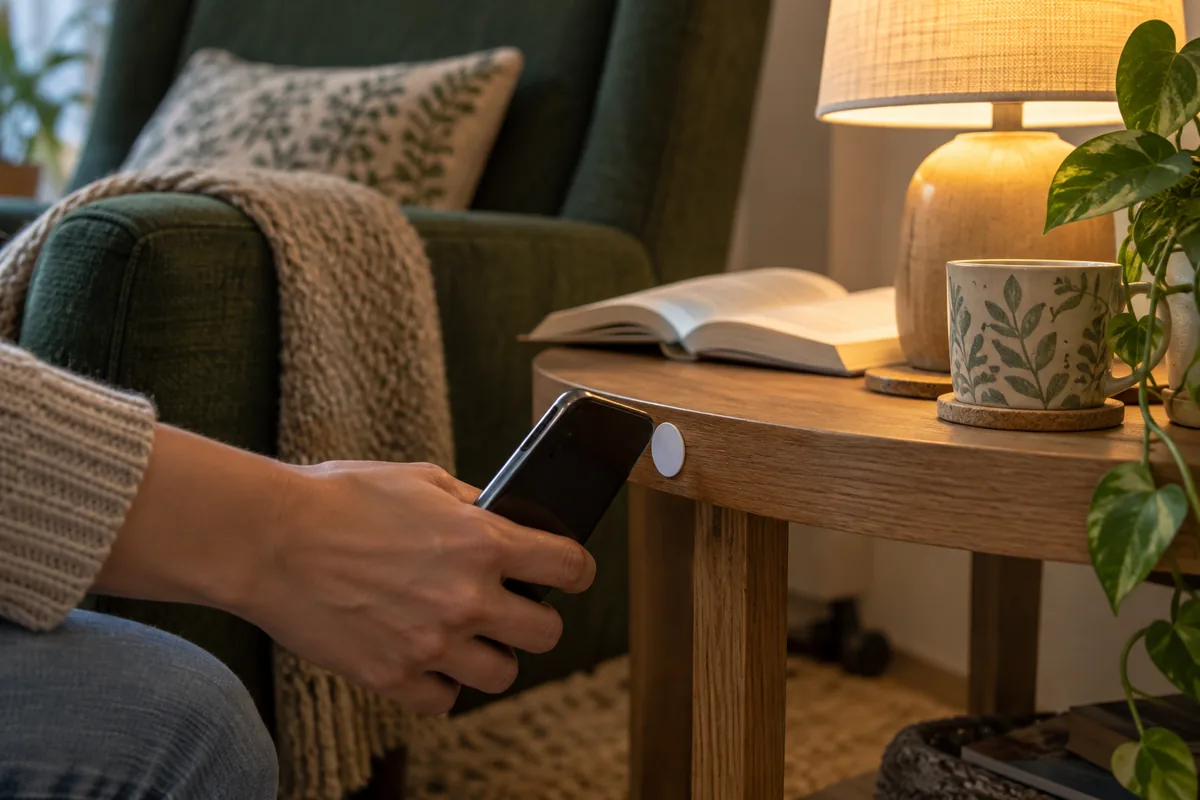
Use one shared tag and a simple Home Assistant automation
Home Assistant NFC tags let you start a routine by holding a compatible phone near a sticker or card. NFC means near-field communication: the short-range connection used to read the tag. For a household with Android and iPhone, start with a tag written by the Home Assistant Companion app and a Tag trigger in Home Assistant.
The sticker stores a link containing a tag identifier. Your phone reads it; the Companion app sends that identifier to your Home Assistant server. The server then runs the matching automation. The sticker does not contact Wi-Fi or switch the lamp by itself. This is the documented shared-tag route.
Begin with an on-screen test message, then add one lamp that already works from your dashboard. Check the phone’s response, the server’s record of the scan, and the actual lamp separately. That order tells you where a failure happened without rewriting everything.
Research method: researched from Home Assistant, Companion app and Apple documentation, including current project security advisories, on September 20, 2026. The walkthrough is an illustrative configuration, not a Tara hardware test. The cover is an AI-generated illustration.
1. Check the phone and tag first
You need a working Home Assistant server, the official Companion app signed into that server, an NFC-capable phone, and a writable NFC tag. Confirm that the app can open your dashboard before writing anything. Use a blank tag intended for storing a web link; do not overwrite a payment card, work badge or existing access credential. Some tags are read-only or become read-only after writing, as the Companion documentation explains.
For background reading on iPhone, Home Assistant lists iPhone XS, XR, and iPhone 11 or later. Check your exact model’s support; owning an iPhone does not alone establish background NFC compatibility. On Android, check that the phone has NFC and that it is enabled. Begin with the phone awake and unlocked so lock-screen restrictions do not obscure the first test. See Home Assistant’s tag prerequisites.
Update the Companion app through its normal app store. The project’s advisories identify fixes in Android 2026.5.3 and iOS 2026.5.0; these are minimum fixed versions, not recommendations to install an old release. Updating Home Assistant Core alone does not update the phone app.
2. Write and name the shared tag
- In the Companion app, open your server’s Settings > Connectivity > Tags. Home Assistant 2026.9 moved Tags under Connectivity; earlier releases show Settings > Tags.
- Add a tag named Reading lamp, using the generated tag ID. Use the panel’s write control and hold the phone near your blank tag until writing completes. App versions can also expose writing under Settings > Companion App > NFC Cards > Write.
- Scan it again. On iPhone, tap the notification when one appears. Complete any Home Assistant tag approval. Confirm that the tag’s last-scan information changes on the server.
The 2026.9 release notes explain the menu move; the Tags integration describes writing from the panel and the last-scan state. Give the sticker a visible household label after the test succeeds. A friendly name helps people; the automation matches the tag ID, so similarly named tags are not automatically interchangeable.
3. Recognize the two kinds of scan prompt
A phone can ask whether to open a link before the Companion app handles it. Home Assistant can then ask whether to allow that tag. These are separate decisions. Approving a tag in Home Assistant does not promise that the operating system will stop showing its own notification or link prompt.
On a narrow screen, swipe the table sideways; with a keyboard, focus it and use the arrow keys.
| What you see | What to do | What it proves |
|---|---|---|
| iPhone tag notification | Tap it to continue into the Companion app. | The phone recognized the link. The routine may not have run yet. |
| Android open-link or app-choice prompt | Check that it is your intended tag and open it with Home Assistant. | The operating system is handing off the link; this is separate from app approval. |
| Home Assistant “Allow Once” or “Allow Always” | Use Allow Once for the first test. Consider a saved approval only for your own harmless routine. | Allowing the tag permits forwarding to the server. It does not prove the device action succeeded. |
The official Android advisory and iOS advisory describe the approval gate and settings for reviewing or revoking saved approvals. Labels can vary with app version and language. Older tutorials that promise an unconditional instant scan omit these newer protections.
Keep this distinction: a tag link can also arrive from another app. A scan event is not proof that the person is standing beside the physical sticker. Do not downgrade the app or remove protections to imitate an old tutorial.
4. Build a notification-first reading-lamp routine
Our example household wants either phone to turn on the reading lamp. A second scan should leave it on, and a failed scan should be easy to diagnose. First we will make the tag create a message inside Home Assistant, without changing any device.
- Open Settings > Automations & scenes and create a new automation named NFC reading lamp test.
- Under When, add a Tag trigger and choose Reading lamp.
- Under Then do, add Persistent Notification: Create notification. Set the title to NFC test, the message to The reading-lamp tag reached Home Assistant., and notification ID to
nfc_reading_test. - Save and enable it. Scan the tag physically and approve it if asked. Open Home Assistant’s Notifications panel: the NFC test message should be present.
The Tag trigger documentation covers trigger selection. A persistent notification is a message inside the Home Assistant interface, not a phone push alert. The fixed notification ID replaces that same message instead of creating a pile of test messages.
If you prefer YAML, this is the complete test-only automation. In a new automation’s Edit in YAML view, replace REPLACE_WITH_YOUR_TAG_ID with the ID from Tags. This is one automation, not a whole configuration.yaml file.
alias: NFC reading lamp test
description: Show a message when the reading-lamp tag reaches this server
triggers:
  - trigger: tag
    tag_id: "REPLACE_WITH_YOUR_TAG_ID"
conditions: []
actions:
  - action: persistent_notification.create
    data:
      title: "NFC test"
      message: "The reading-lamp tag reached Home Assistant."
      notification_id: nfc_reading_test
mode: single
Next, use the dashboard to turn your chosen lamp on and off. Once that works, add a Light: Turn on action after the test message and select only that lamp. For a plug represented as a switch, use Switch: Turn on instead. Leave brightness and color options unset for this first test.
Choose Turn on, not Toggle. In this example, “start reading” should have one predictable result. A repeated Toggle could undo the first scan; another Turn on still asks for on. This follows the separate light action behaviors. No motion routine is paused by this command: if another automation turns the lamp off, add an explicit manual override to that routine.
Check these five outcomes
On a narrow screen, swipe the table sideways; with a keyboard, focus it and use the arrow keys.
| Check | Expected result | If it differs |
|---|---|---|
| Scan with Android; lamp starts off | After required prompts, the message appears and the lamp turns on. | Find the missing step in the table below. |
| Turn lamp off normally, then scan with iPhone | After its notification and applicable approval, the same routine turns the lamp on. | Check that this phone reaches the same server. |
| Move the phone away, then scan again | The lamp stays on. One test message remains. | Look for Toggle or a second automation. |
| Dismiss the message, revoke this tag’s saved app approval, scan and decline | This scan should not recreate the message or run the shared-tag routine. | Check for a separate Shortcuts automation or another active scanner before trusting the setup. |
| Turn the lamp off with its usual control | This NFC automation takes no action until another accepted scan. | Inspect other lamp routines if it changes again. |
These are expected outcomes for the example, not measured test results. Keep the lamp’s ordinary controls available. After both phones pass, remove the test-message action if you no longer need it.
When an iPhone personal automation is a better fit
Use the shared-tag route above when you want both platforms to start one server automation. Use Apple Shortcuts when you deliberately want a routine configured on a particular iPhone. Apple’s NFC trigger registers the tag’s physical identifier and ignores its other contents. That is different from reading the Home Assistant URL written onto it.
For a supported iPhone running iOS 17 or later, create a regular shortcut with Home Assistant’s Perform action, select the server, choose light.turn_on, and supply action data such as {"entity_id":"light.reading_lamp"}, replacing the entity ID with your real lamp. Test that shortcut by itself. Then create an NFC personal automation in Shortcuts, register the sticker, and have it run that shortcut.
The current Apple App Intents documentation lists version requirements and marks older actions such as Call Service as deprecated. Verify behavior on the actual phone; do not promise every scan works silently while locked.
This direct-action shortcut does not itself send a Home Assistant tag scan. Its success therefore does not require the Tags last-scan time to change. Avoid enabling both routes for the same job unless you have deliberately handled the duplicate action.
If scanning does not run the routine
Follow this order. It separates a phone-reading problem from a server or lamp problem.
On a narrow screen, swipe the table sideways; with a keyboard, focus it and use the arrow keys.
| Last thing that worked | Next harmless check | Expected evidence |
|---|---|---|
| The phone does not react | Wake and unlock it; check NFC support and Android’s NFC setting. Try the app’s read function with the tag held near the phone’s NFC antenna. | The phone recognizes the tag before any server diagnosis is useful. |
| A website or chooser opens | Confirm the tag contains the Home Assistant tag link and the Companion app is installed and connected. Complete the phone’s app-opening prompt. | The Companion app handles the tag; a browser page alone is insufficient. |
| The app asks for approval | For your test tag, select Allow Once. Dismissing the request should send nothing. | The server’s last-scan information changes after an allowed scan. |
| The app opens, but the server shows no scan | Open that server’s dashboard on the same phone connection. If necessary, listen for tag_scanned under Settings > Tools > Events (Developer Tools > Events on older layouts), then scan. | A received event shows the tag ID and scanner device ID. Do not manually fire an event to prove the phone worked. |
| A scan reaches the server, but no message appears | Check the automation is enabled and matches that exact tag ID; open its Traces. | The trace shows whether the trigger matched and which action failed or was blocked. |
| The message appears, but the lamp stays dark | Try the lamp’s dashboard control and check the action target. | If dashboard control also fails, fix the lamp connection before changing NFC settings. |
Traces show the automation’s path. The editor’s Run actions button skips triggers and top-level conditions, so it cannot establish that the phone sent the right tag. For broader failures, follow the automation-not-firing checks.
Keep the phone, network and safety boundaries clear
The tag-to-phone read is local. Delivery to Home Assistant still needs a working phone-to-server connection, and the controlled device may have its own cloud dependency. Start on home Wi-Fi. For scans away from home, configure and verify remote access first; the sticker does not provide it.
You can limit a Tag trigger to selected scanner device_id values in YAML. That is useful for choosing which phone starts a convenience routine, as the trigger reference describes. It is not a new server permission system or proof of physical presence. Keep this example away from door unlocking, alarm disarming, heaters and other consequential actions.
Once the basic control is predictable, a tag can be a deliberate input to a house-mode routine. Review every action attached to that mode before connecting it. A “good night” name does not make all its effects harmless.
Frequently asked questions
Do Home Assistant NFC tags need a subscription?
The built-in tag and automation features do not require a subscription. You need a compatible phone, the Companion app connected to your server, and a writable tag. A remote-access service or the device you control may have separate requirements.
Can visitors use the tag without the Home Assistant app?
The shared tag route described here needs a Companion app connected to your Home Assistant server. A visitor scanning the sticker does not automatically gain access. For guests, a normal physical button is often simpler than setting up phone access.
Does the same sticker work on Android and iPhone?
Yes, a Home Assistant tag URL can identify the same routine to both Companion apps. Each phone needs its own working server connection and applicable approvals. The number of taps and lock-screen behavior can differ.
Can I make a tag unlock my front door?
Do not use the reading-lamp example for locks, garage doors or alarm disarming. A tag ID can be copied or delivered as a link; a matching scanner ID is not proof that someone is physically at the door. Use the access-control system’s supported authentication instead.
If you want help coordinating physical controls and everyday routines, see Tara’s home automation kit for local routines.