Start with a time you can change from the dashboard
For a Home Assistant wake-up light, use an existing dimmable bedroom lamp, a time setting and an enable switch. Schedule the lamp to start dim before your normal alarm, then increase its brightness in small steps. You do not need to replace the alarm clock or install extra software for this routine.
The example below starts at 5% brightness and requests 65% about 20 minutes later, Monday to Friday. Those are starting values for you to adjust, not measured recommendations for every bedroom. Try the lamp’s low brightness first, create the two controls, then test the complete schedule while you are awake.
A helper is a setting Home Assistant stores for you, such as a time or a toggle. Its Date and/or time helper lets you change the start time without reopening the automation. Choose this approach when your wake-up time is predictable or you are happy to adjust it the night before.
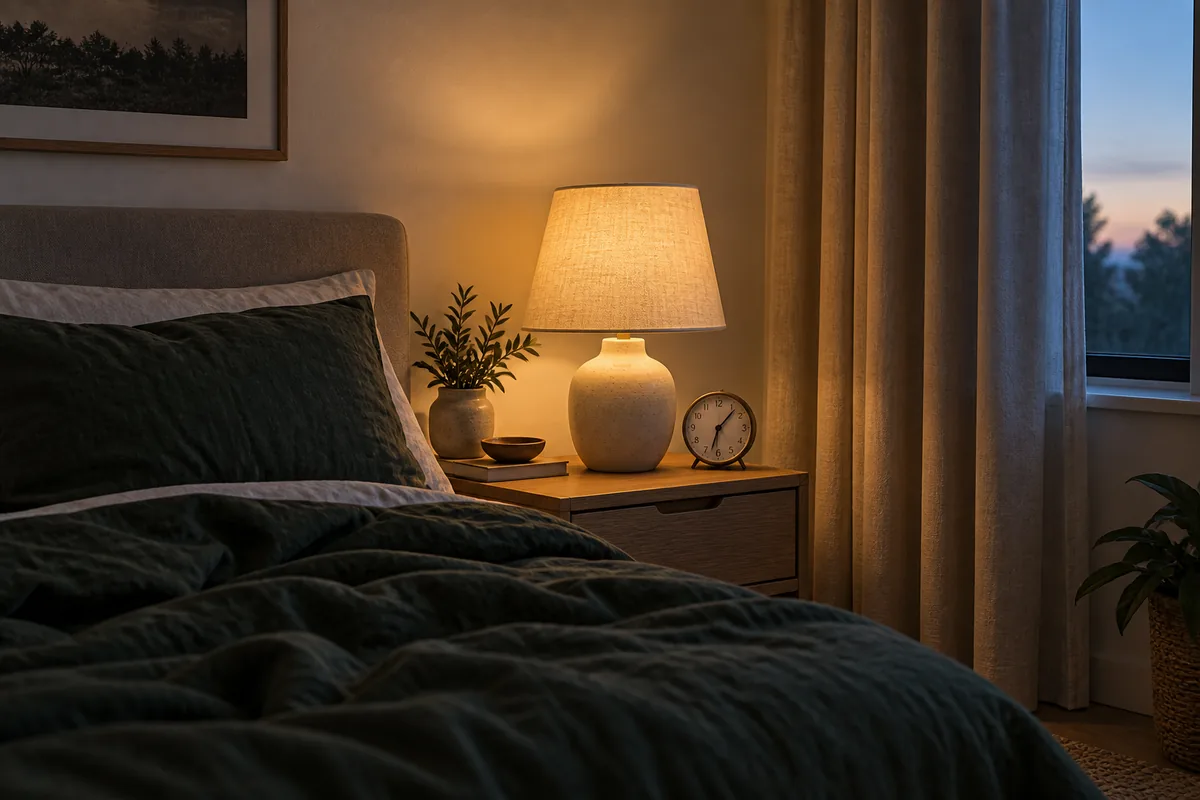
Researched from current Home Assistant documentation on September 13, 2026. The YAML syntax, brightness calculation and cancellation condition were checked locally; the automation was not run in a Home Assistant installation or tested on physical lamps. The cover is an AI-generated bedroom illustration.
Set up your wake-up light in four steps
1. Check the lamp at low brightness
Open the lamp’s controls in Home Assistant. Confirm that you can dim it, rather than only turn it on and off. Copy its entity ID, the internal name such as light.bedside_lamp, from its settings.
Try 5% and 65% while you can see the lamp. A reported percentage is a control setting, not a measurement of the light reaching your eyes. If 5% is too bright, try a lower value. If the lamp flickers or stays dark, choose a stable minimum. Keep electrical power supplied to a smart bulb and use its Home Assistant off control for the test.
The light action documentation describes brightness and transition options. A transition is a device’s fade between settings; support depends on the lamp and its connection. This example uses separate brightness commands, so it does not depend on the lamp accepting one 20-minute transition. You may still notice the individual steps.
2. Create the time and enable controls
- Open Settings → Devices & services → Helpers → Create helper. Choose Date and/or time, name it Wake up light start, and select time only.
- Set its time to 06:40:00 for a 07:00 alarm. Check that its entity ID is
input_datetime.wake_up_light_start. - Create a Toggle helper named Wake up light enabled. Check for
input_boolean.wake_up_light_enabledand turn it on. The Input Boolean documentation describes this toggle helper. - Add both helpers and the lamp to an Entities card, a list of controls on your dashboard. The household can then change the time, disable tomorrow’s routine or stop the lamp from one place.
If Home Assistant gives either helper a different ID, use that actual ID everywhere in the example. A name already in use can produce a numbered suffix.
3. Create one automation
Open Settings → Automations & scenes → Create automation → Create new automation. In the menu, select Edit in YAML, Home Assistant’s text configuration format. Replace the empty automation with the complete example below. Do not add an outer automation: line.
Replace light.bedside_lamp everywhere with your lamp’s ID, including inside the quoted state check. Check the two helper IDs too, then save. Keep the initial and final brightness values between 1 and 100, with the final value higher than the initial value.
On a phone, scroll the code sideways to read full lines.
Copy the 20-minute wake-up automation
alias: "Bedroom - weekday wake-up light"
description: "Start dim, brighten for 20 minutes, allow cancellation"
mode: single
variables:
  start_brightness: 5
  end_brightness: 65
triggers:
  - trigger: time
    at: input_datetime.wake_up_light_start
conditions:
  - condition: state
    entity_id: input_boolean.wake_up_light_enabled
    state: "on"
  - condition: time
    weekday: [mon, tue, wed, thu, fri]
  - condition: state
    entity_id: light.bedside_lamp
    state: "off"
actions:
  - action: light.turn_on
    target:
      entity_id: light.bedside_lamp
    data:
      brightness_pct: "{{ start_brightness }}"
  - repeat:
      count: 20
      sequence:
        - wait_for_trigger:
            - trigger: state
              entity_id: input_boolean.wake_up_light_enabled
              to: "off"
            - trigger: state
              entity_id: light.bedside_lamp
              to: "off"
          timeout: "00:01:00"
          continue_on_timeout: true
        - if:
            - condition: template
              value_template: >-
                {{ wait.completed
                   or not is_state('input_boolean.wake_up_light_enabled', 'on')
                   or not is_state('light.bedside_lamp', 'on') }}
          then:
            - stop: "Wake-up light cancelled or lamp not available"
        - action: light.turn_on
          target:
            entity_id: light.bedside_lamp
          data:
            brightness_pct: >-
              {{ (start_brightness
                  + (end_brightness - start_brightness)
                  * repeat.index / 20) | round(0) | int }}
The weekday list uses Home Assistant’s day codes. Add sat and sun for every day. This list does not know about holidays or your travel plans; switch off Wake up light enabled when you want to skip them.
The lamp must initially report off. If it is already on, the routine leaves it alone. mode: single prevents a second overlapping run, as described in automation modes.
4. Test the schedule and the stop control
- Set the helper to a time two minutes ahead. Ensure today is in the weekday list; if you temporarily add a weekend day, remove it afterward. Switch the enable helper on and turn the lamp off in Home Assistant.
- Let the scheduled time arrive. The lamp should start at 5%, then move to 8% about a minute later.
- Turn the enable helper off during the next wait. The automation should stop increasing brightness and leave the lamp at its current setting. Turn the lamp off yourself if you want darkness.
- Turn the lamp off, schedule a fresh short test and re-enable the helper. This time, turn the lamp off through Home Assistant during the ramp. Confirm it stays off after the next minute would have passed.
- Run a complete 20-minute check when convenient. Restore your morning start time and intended weekdays, and leave the helper enabled only if you want the routine tomorrow.
Use the automation’s trace, its record of executed steps, to inspect a failed check. The editor’s Run actions button bypasses the top-level conditions and time trigger, so it does not verify the weekday or scheduled-start behavior. See Home Assistant’s automation testing guide.
Worked example: ready for a 07:00 alarm
This timeline is calculated from the example, not measured on a lamp. Every one-minute wait is followed by another brightness request. Command and network delays can make the finish slightly later than 07:00.
Scroll sideways on a phone to read all columns.
| Approximate time | Requested brightness | What happens |
|---|---|---|
| 06:40 | 5% | Start only if enabled, on an allowed day, with the lamp off. |
| 06:45 | 20% | Five increases have completed. |
| 06:50 | 35% | Halfway through the 20 increases. |
| 07:00 | 65% | The ramp ends; the lamp stays on. Your separate alarm handles sound. |
| Cancel at 06:47 | Last requested level | Switching the enable helper off stops further increases. Turning the lamp off also stops the routine. |
The calculation spreads the difference between start_brightness and end_brightness over 20 increases. Change those two values to suit the room. For a different duration, change the one-minute timeout: 00:00:30 gives about 10 minutes; 00:01:30 gives about 30 minutes. Keep the repeat count and the divisor at 20, and move the start time accordingly.
During each wait, an off event cancels the run. After the wait, the routine also checks whether the helper and lamp still report on. If a command errors, Home Assistant normally stops the sequence. These controls follow the documented wait, repeat and stop behavior; they cannot guarantee that a physical lamp reports its state promptly.
When the light does something unexpected
Scroll sideways on a phone to compare the symptom and next step.
| What you see | Check first | What to change |
|---|---|---|
| Nothing happens at the start time | Helper enabled, allowed weekday, lamp off and automation enabled. | Schedule a new test in the future and inspect its trace. Setting a time already passed does not start this routine now. |
| Light is too bright immediately | Its actual output at the starting percentage; another routine changing it. | Lower start_brightness to a stable value and pause competing light controls for the test. |
| Light only turns on, without dimming | Whether its normal Home Assistant controls include working brightness. | An on/off-only light cannot perform this ramp. Use an already supported dimmable light. |
| Manual dimming is undone a minute later | The wake-up routine is still active. | Turn the enable helper off before choosing your own brightness. A brightness change alone does not cancel this example. |
| Light stops partway through | Cancellation, an unavailable lamp or an action error in the trace. | Restore normal lamp control first, then schedule another test. Keep the independent alarm active. |
| Home Assistant restarted or automations reloaded during the ramp | The running sequence was interrupted. | This example does not resume or catch up after a missed start. Check the lamp manually and keep the phone or clock alarm. |
If other automations control the same lamp, use a clear manual override for your lighting routines. For general startup failures, follow the automation-not-firing checks. Give this routine control of the lamp during those 20 minutes. Avoid editing or reloading automations mid-ramp: reloading stops running automation actions.
Should it follow your phone alarm instead?
Use the editable helper first. It works independently of the type of phone you use and does not read or change the phone’s alarm. Change both times yourself when your schedule changes.
Android’s Companion app offers a Next Alarm sensor for a later, separate automation. It can receive alarms from other apps, so check its app allow list and confirm the reported time. It becomes unavailable when there is no next alarm. The documented iOS sensor list does not provide the same native alarm sensor; keep the helper approach unless you deliberately build and verify a separate synchronization workflow.
Changing a phone alarm does not change this example. If your wake times rotate with shifts, agree on one place to manage that schedule before connecting more routines. Tara’s local home automation routines follow the same practical principle: make the controls understandable to the people who live with them.
Other practical questions
Will this work without internet?
The time helper and automation run on your Home Assistant server. The complete routine can work without internet only if the lamp’s connection also supports local control, meaning commands stay inside your home network or radio system. A cloud-controlled lamp still depends on its provider. See what stops when Home Assistant goes down for the separate server-outage case.
Does it change the color of the light?
No. The example changes brightness only. Start with a white tone you like in the lamp’s controls. A changing color temperature needs a lamp that supports it and additional actions using its supported range.
Will it turn the lamp off afterward?
No. It finishes at the requested brightness and leaves the lamp on. Turn it off normally when you leave. Turning the enable helper off also leaves the lamp at its current brightness; it prevents future scheduled runs until you enable it again.