Use both when a room has more than one lighting job
When choosing between a Home Assistant light group and an area, start with what you want to control. An area represents a physical room. A Light Group gives selected lights one shared control. Most rooms benefit from an area; add a group when a fixture or a few lamps should act together.
For example, keep two reading lamps and a ceiling light in the Living room area. Make a Reading lamps group containing only the two lamps. Use that group for an evening reading button, and use the area for a whole-room lights-off action.
Home Assistant calls each named control an entity. A group creates another light entity, such as light.reading_lamps, while an area is a target that selects the room’s relevant entities. This follows the distinction in the official organization guide.
Begin by checking each light separately, assign its room, then create the smaller group. You do not need to re-pair working bulbs or buy another hub for this organization step.
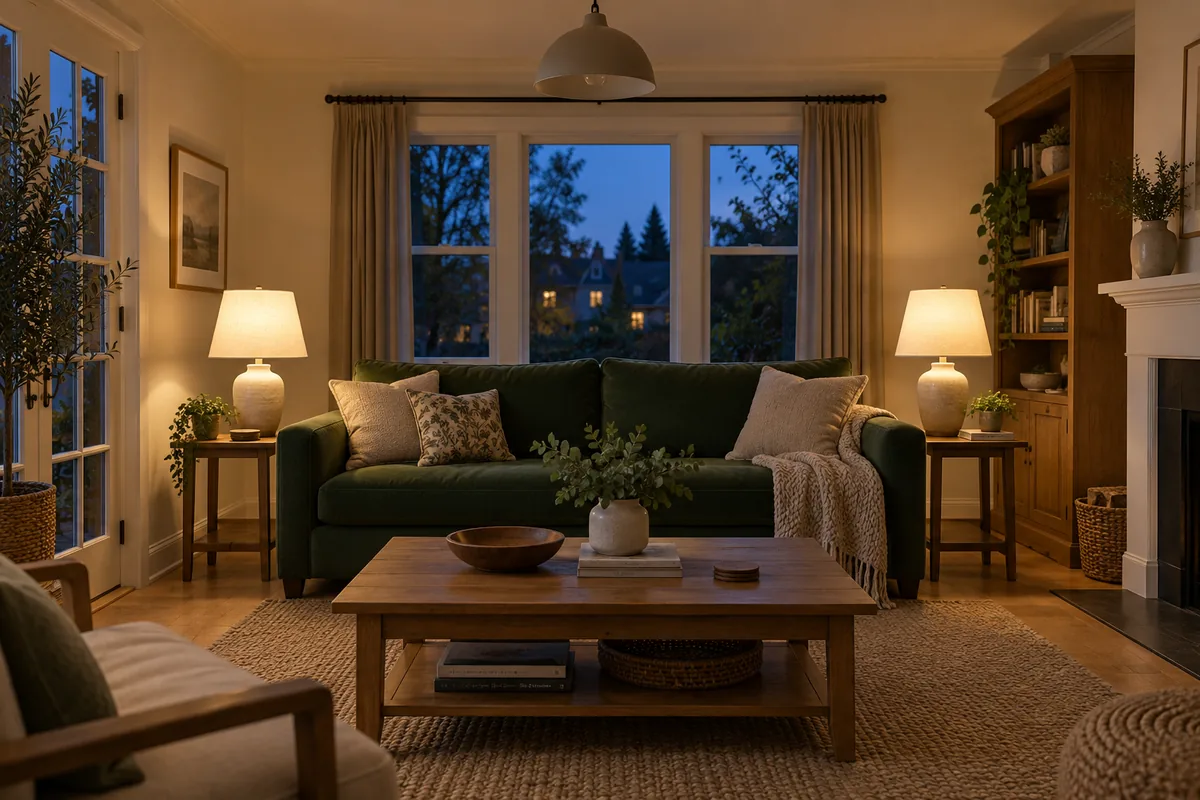
Research method: researched from current Home Assistant documentation and the 2026.9.3 light-group implementation on September 25, 2026. The room below is a worked example, not a tested Tara installation. The cover is an AI-generated illustration.
Choose the control that matches the job
On a small screen, swipe the table sideways to see every column.
| What you want | Choose | Why it fits |
|---|---|---|
| Turn off every light assigned to the living room | Area target | The action follows the room’s eligible light targets; check hidden entities. |
| One dimmer for the two reading lamps | Light Group helper | You select the members. Both lamps must support dimming for both to follow it. |
| One control for a multi-bulb fixture | Light Group helper | The fixture gets a useful name without becoming a separate room. |
| Ceiling off, left lamp at 30%, right lamp at 60% | Scene | A scene stores different desired settings for individual lights. |
| Select seasonal lights across several rooms | Label target | A label can mark a purpose without changing the room assignments. |
A scene applies a prepared set of states; a label marks selected items that can share an action target. Neither is necessary for the two-lamp example. Start with the smallest control that does the job.
1. Check the lights before grouping them
- Open each lamp’s existing control. Confirm On and Off work, and note its entity ID. Try brightness only if that lamp exposes a brightness control. Keep its physical control accessible.
- Check the entity type. The Light Group needs
light.entities. A plug may instead appear asswitch.even when it powers a lamp. - Convert a lamp plug only when appropriate. The built-in Change device type of a switch helper, also called Switch as X, can expose the existing switch as a light. Choose Light, then use the resulting
light.entity. This changes Home Assistant’s representation; an ordinary on/off plug does not gain dimming.
Use that conversion only for a plug actually dedicated to a suitable lamp. A heater or other appliance should not become part of a lighting command. This guide requires no wiring changes.
2. Keep room membership separate from group membership
Create or open Living room in Settings > Areas, labels & zones. Assign the three lights to that room through their device or entity settings, checking any entity-level area override. Areas documentation explains room targets and the current settings layout; labels can differ on older installed releases.
Leave the three light entities visible during setup. Home Assistant filters hidden entities out of direct area expansion. A light group assigned to that area can still forward a command to its hidden members. Check both the group’s area and its member list if you later hide individual controls.
Plan this example before making the helper:
On a small screen, swipe the table sideways to see every column.
| Existing light | Area | Reading lamps member? |
|---|---|---|
| Left reading lamp | Living room | Yes |
| Right reading lamp | Living room | Yes |
| Ceiling light | Living room | No |
The group can also be assigned to Living room. That does not pull every room light into the group: its member list remains the two lights you selected. Conversely, adding a new light to Living room can broaden future area-targeted commands. Review room-wide routines when adding devices.
3. Create the Reading lamps helper
- Open Settings > Devices & services > Helpers, then Create helper > Group > Light group.
- Name it Reading lamps. Select the two existing lamp entities and leave the ceiling light out.
- Leave All entities off for ordinary control. The group then reports On when at least one member is on. That option changes the reported group state; it does not choose which lights receive commands.
- Save and check the new entity’s actual ID. The examples use
light.reading_lamps; yours may include an area name or another suffix.
Use a Light Group helper rather than copying an old YAML group: example. Home Assistant recommends the newer typed groups. If you later need another lamp in this group, edit its Group options and member list.
4. Aim each action at the right target
These are two separate action snippets in YAML, Home Assistant’s text configuration format. They are not complete automations and do not belong directly at the top of configuration.yaml. Use them in the Actions tool’s YAML mode or as an action in the automation editor. Replace the example IDs with your actual values.
For just the two reading lamps
action: light.turn_on
target:
  entity_id: light.reading_lamps
Expected result: both selected lamps turn on; the ceiling light keeps its previous state. If both lamps dim correctly on their own, this complete action also sets a shared brightness:
action: light.turn_on
target:
  entity_id: light.reading_lamps
data:
  brightness_pct: 40
Forty percent is an example setting, not a measured light level. The lamps may look different at the same percentage.
For all the living room lights
action: light.turn_off
target:
  area_id: living_room
Expected result: the example’s three visible, assigned lights receive an Off command, including the ceiling light. Select your actual area in the visual target picker rather than guessing its ID. light.turn_off targets lights; it does not turn off every type of device in that room. An unconverted switch. lamp is a common reason one light is missed. See the action target documentation.
For a routine with a known result, use explicit light.turn_on or light.turn_off. A group toggle uses the group’s combined state. With All entities off, one lamp on and one off makes the group On, so toggling the group turns both off. An area is a selection of targets, not one shared on/off state; do not assume an area toggle means “make the whole room on.” Light action semantics and the group implementation establish that distinction.
5. Verify with two non-critical lamps
Choose a time when changing these lamps will not leave anyone in darkness. Check whether an existing routine controls them; if necessary, temporarily pause only that lighting routine and restore it afterwards.
- Set a visible starting state: left lamp on, right lamp off, ceiling light on. Use their individual controls.
- Open Settings > Tools > Actions. Older versions call this Developer tools > Actions. Run the group On action. Both lamps should be on and the ceiling should stay on.
- Run the group Off action. Change only
light.turn_ontolight.turn_off. Both lamps should turn off while the ceiling remains on. - Test the whole-room action when safe. It should turn off all three. Restore the room’s original lighting and any paused routine.
Watch the physical lamps as well as Home Assistant. Do not use the States tool to pretend the lamps changed: setting a displayed state does not send a command to the device. If the physical result differs, stop here and check the individual light before adding an automation.
Once the group behaves correctly, the next step can be controlling room lights from multiple motion sensors. Keep the light target separate from the sensor rule that decides when it runs.
If the result does not match the room plan
On a small screen, swipe the table sideways to see every column.
| What happens | Check next |
|---|---|
| The ceiling changes with Reading lamps | Check the group’s members and the action target. It may target the area, or another routine may also act. |
| A new room light ignores the group | Review Group options. Room assignment does not automatically add it to the helper. |
| The group is On with only one lamp lit | That is the default combined state. Check individual members to know which lamp is on. |
| A whole-room action misses a hidden lamp | Check its visibility and whether a group in that area includes it. Use an explicit light target for a controlled test. |
| Group Off appears successful but one lamp stays lit | Check that member’s availability and physical power. A combined group state is not confirmation from every bulb. |
| One lamp follows On/Off but ignores brightness or color | Check its individual capabilities and integration. A shared control cannot add missing hardware support. |
| Lights change at slightly different times | Grouping controls does not guarantee synchronized delivery. Check the underlying integration before changing radio settings or resetting bulbs. |
The helper’s on/off methods forward commands to its members. Their existing integrations—the connections between Home Assistant and each device—still determine how commands arrive. A cloud-connected member keeps that dependency. Native Zigbee grouping and direct switch control are separate features; use the Zigbee binding guide if your next goal is a switch-to-light link that works without a Home Assistant automation.
A practical room setup
Keep Living room as the honest map of the room. Put only the two lamps in Reading lamps. Use the group for reading and an explicit area Off command for bedtime. Add a scene only when each light needs a different saved setting.
That arrangement gives the household two understandable controls: “these lamps” and “this room.” For a larger lighting plan, Tara’s room-by-room smart lighting kit page covers the package and physical-control choices.
Frequently asked questions
Can a light belong to an area and a group?
Yes. Keep its physical room assignment and select it as a group member. The area and the group serve different control purposes.
Will the group copy different brightness levels back later?
No. A group sends shared commands. Use a scene for a prepared mix of brightness levels; use a deliberate scene snapshot and restore routine when you need to return to the lights’ previous settings.
Does grouping make lights work without the internet?
No. The helper uses each member’s existing connection. Check the underlying integration’s local or cloud requirements; adding a group does not replace them.