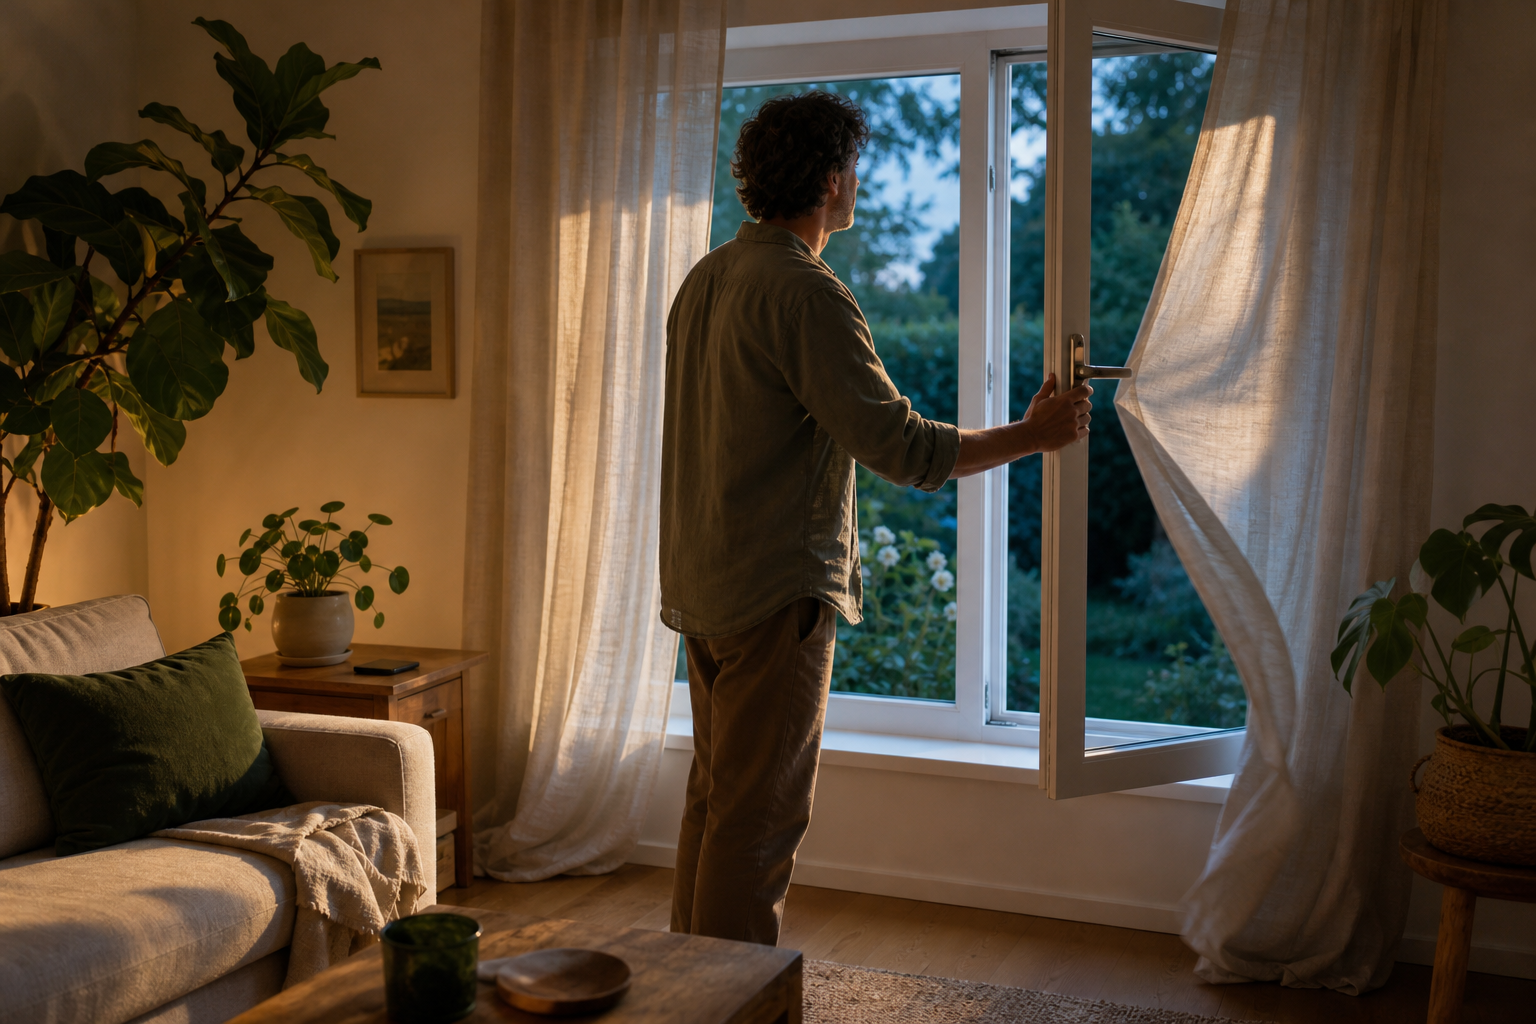
A Simple Home Assistant Open-or-Close Window Rule
For summer cooling, subtract outdoor temperature from indoor temperature. The result is the cooling advantage; a positive number means outside is cooler. Open only when the difference is useful and has lasted long enough to ignore a brief wobble.
| Decision | Starter rule | Why it helps | Important override |
|---|---|---|---|
| Open for cooling | Inside is at least 1°C / 2°F above your comfort target, and outside stays at least 2°C / 4°F cooler for 10 minutes | Both differences are useful enough to justify opening rather than reacting to a tiny change | Do not open for smoke, poor outdoor air, rain, unsafe conditions, or active heating or air-conditioning |
| Close again | The room reaches your comfort target or the cooling advantage falls to 1°C / 2°F or less for 10 minutes, and a window contact says a window is open | You stop cooling at the temperature you wanted, or keep the cooler indoor air before outdoors catches up | A contact sensor prevents a pointless close alert when every window is already shut |
| Do nothing | The readings are unavailable, the gap sits between the two limits, or an override is active | The quiet middle band prevents notification chatter | Comfort automation must not replace smoke, carbon-monoxide, or emergency-ventilation guidance |
These gaps are called hysteresis: conditions must change meaningfully before Home Assistant changes its advice. The numbers are starting points; a shaded apartment and a sun-baked upstairs room may need different limits.
What You Need Before Building the Reminder
- One indoor temperature sensor in the room you want to cool, away from sun, cooking heat, vents, and electronics.
- One outdoor temperature reading. A nearby weather service shown in Home Assistant—called a weather entity—is enough to test the idea. A shaded, ventilated physical sensor near the home is usually better for deciding what air will enter the window.
- The Home Assistant Companion app on the phone that should receive the reminder.
- A window contact sensor for the close reminder. It is optional for the open reminder, but it stops Home Assistant asking you to close windows that are already shut.
- Optional override readings for outdoor dew point, air quality, rain, heating or air-conditioning activity, and whether somebody is home.
Home Assistant weather entities can expose temperature, humidity, dew point, wind, and other readings, but the available fields depend on the weather provider. Some providers are cloud-polled, meaning Home Assistant needs the internet to fetch their updates, and a regional station may not match a sunny wall or sheltered yard. If the reminder is consistently early or late, improve the outdoor measurement before adding more automation logic.
Outdoor sensor placement matters. Put a physical sensor in shade with airflow around it. Direct sun, warm masonry, a dryer vent, or an air-conditioner outlet can make the reading unsuitable even when the sensor itself is accurate.
1. Create the Cooling-Advantage Helper
In Home Assistant, go to Settings → Devices & services → Helpers, choose Create helper, then select Template and Template a sensor. Name it Window cooling advantage. Replace the example entity IDs—the technical names such as sensor.living_room_temperature—with your own readings.
If both temperatures are numeric sensor entities, use this as the state template:
{{ (states('sensor.indoor_temperature') | float
   - states('sensor.outdoor_temperature') | float) | round(1) }}
Expand Advanced options and paste this into the Availability template field so an offline sensor does not turn into a believable but wrong number:
{{ is_number(states('sensor.indoor_temperature'))
   and is_number(states('sensor.outdoor_temperature')) }}
A weather.* entity is different: its main state is a word such as “sunny,” while current temperature is an attribute attached to it. If your outdoor source is weather.home, use this state template instead:
{{ (states('sensor.indoor_temperature') | float
   - state_attr('weather.home', 'temperature') | float) | round(1) }}
Its matching availability template is:
{{ is_number(states('sensor.indoor_temperature'))
   and is_number(state_attr('weather.home', 'temperature')) }}
Set the unit to match both source readings: °C or °F. Leave the device class empty because this helper represents a difference rather than an absolute room temperature. After saving, open the helper and copy its actual entity ID; Home Assistant may add a suffix when that name already exists. Replace every sensor.window_cooling_advantage example below if your ID differs. Check the helper on a dashboard or under Developer tools → States. If indoors is 27°C and outdoors is 23°C, the helper should read 4°C.
2. Build the Open-Window Reminder
Go to Settings → Automations & scenes and create a new automation, which is Home Assistant's name for a saved rule that joins a trigger to an action. Add a Template trigger: a true-or-false check that Home Assistant re-evaluates when its referenced readings change. For Celsius, use the template below. Replace the indoor entity ID if yours is different.
{{ is_number(states('sensor.window_cooling_advantage'))
   and is_number(states('sensor.indoor_temperature'))
   and states('sensor.window_cooling_advantage') | float >= 2
   and states('sensor.indoor_temperature') | float >= 25 }}
This Celsius example assumes a comfort target of 24°C and waits until the room reaches 25°C before opening. Set the trigger's hold time to 10 minutes. For Fahrenheit, replace 2 with 4 and 25 with an open point about 2°F above your target, such as 77 for a 75°F target. Add the Companion app notification action for your phone with a message such as: “It has stayed cooler outside for 10 minutes. Open safe windows if the air is clear and the heating or air-conditioning is off.”
The template responds when either referenced sensor changes, so it does not miss the moment when the room becomes too warm while outdoors is already cool. Test the action from the automation editor before waiting for the weather to cooperate. If phone alerts arrive late or not at all, use Tara's Home Assistant notification troubleshooting guide before changing the temperature rule.
3. Build the Close-Window Reminder
The close reminder needs to know that at least one relevant window is open. Use one contact sensor while testing, or replace the example below with an existing binary-sensor group—a combined open-or-closed reading that turns on when any monitored window is open. The example closes at either the comfort target or the smaller cooling advantage.
{{ is_number(states('sensor.window_cooling_advantage'))
   and is_number(states('sensor.indoor_temperature'))
   and is_state('binary_sensor.window_contact', 'on')
   and (
     states('sensor.window_cooling_advantage') | float <= 1
     or states('sensor.indoor_temperature') | float <= 24
   ) }}
Again, use a 10-minute hold. In Fahrenheit, replace 1 with 2 and 24 with the same comfort target used in the open rule, such as 75. Send a simple message: “The room has reached its target or the outdoor cooling advantage has almost gone. Close the open windows.” If you do not have a contact sensor, either omit its line and accept a general check-the-windows reminder, or skip this automation until you add one.
Home Assistant documents an important limit: a trigger's for timer does not survive a Home Assistant restart or an automation reload. After either event, the condition must remain true for a fresh 10 minutes. That delay is normally safer than firing immediately from an old assumption.
4. Add Overrides One at a Time
Get the two-temperature version working first. Then add only the vetoes your household can measure reliably. Put each measured veto inside the Template trigger, not only in the separate Conditions section. A Template trigger runs when its full check changes from false to true; keeping the veto in that check lets Home Assistant re-evaluate when rain stops or another block clears. Test each change from the automation editor and check the automation trace if a reminder does not run.
Worked example: add a rain veto
If you have a reliable rain sensor that reports on when rain is detected, add its real entity ID to the open trigger itself. This complete Celsius example stays false while rain is detected, then starts the 10-minute wait only after the rain sensor returns to off and the temperature rule is still true:
{{ is_number(states('sensor.window_cooling_advantage'))
   and is_number(states('sensor.indoor_temperature'))
   and states('sensor.window_cooling_advantage') | float >= 2
   and states('sensor.indoor_temperature') | float >= 25
   and is_state('binary_sensor.rain_detected', 'off') }}
Do not copy that final line unless you have verified what your own rain sensor calls dry and wet. Apply the same pattern only to reliable readings. Smoke and official safety alerts should still be checked by a person unless you have a current, trusted source that the rule can read.
Use dew point for the moisture check
Do not compare indoor and outdoor relative-humidity percentages directly. Relative humidity changes with temperature, so 70% outdoors in cool air does not mean the same moisture load as 70% indoors in warm air. The US National Weather Service recommends dew point as the better measure of how much moisture is actually present.
If muggy outdoor air is a problem, add a condition that the outdoor dew point is below a limit your household finds comfortable. Around 18°C / 65°F can be a conservative first comfort cutoff, but it is not a health or building-safety limit. In a humid climate, a dehumidifier, air-conditioner, or planned mechanical ventilation may be more appropriate than opening windows.
Let smoke and outdoor air quality veto the reminder
Cooler does not mean healthier. During wildfire smoke or another official outdoor-air advisory, keep windows closed as directed by local authorities even if the temperature rule says open. In the United States, Home Assistant's AirNow integration—the software connection that brings AirNow readings into Home Assistant—can provide official observations, but it needs the internet and the source observations are generally hourly. Use it as an extra condition, not as a replacement for urgent local alerts. Elsewhere, use your regional official air-quality source.
Check rain, heating or air-conditioning, and household safety
- Rain and wind: block the open reminder when wind-driven rain can reach the window or when severe weather guidance says to keep it shut.
- Heating or air-conditioning: avoid conditioning the home while windows are open. A notification can ask the household to turn the system off first; do not force a thermostat state that could interfere with freeze, humidity, or equipment protection.
- Presence and security: send the reminder only when someone can act on it. Do not recommend leaving an accessible ground-floor window open in an empty home.
- Children, pets, and egress: exclude windows that are unsafe to operate or needed as an emergency exit. A comfort automation is not a safety control.
If presence should be an automation condition, Tara's plain-English presence detection guide explains the tradeoffs without turning one unreliable phone location into a security decision.
How to Tune the Reminder Without Making It Noisy
- Run notification-only for a week. Note whether each suggestion would have improved comfort before considering any extra action.
- Adjust one number at a time. Raise the open difference if the benefit feels too small; lengthen the hold if clouds or gusts create short swings.
- Keep two thresholds. Do not set open and close to the same value, or the advice can flip repeatedly near that line.
- Check traces before rewriting. The automation trace shows which trigger or condition stopped a run. Tara's Home Assistant automation-not-firing checklist explains the fastest order to check.
- Review each season. Summer cooling, winter sun, humidity, smoke, and daylight patterns change. Disable a rule that no longer matches the season.
What to Avoid
- Do not use a sun-heated outdoor sensor. It can report the wall or the sensor case rather than the air.
- Do not treat weather-provider data as room-level truth. It is a useful starter and fallback, not proof of the conditions at one window.
- Do not use raw relative humidity as the deciding comparison. Use dew point and a locally appropriate comfort limit.
- Do not let a temperature rule overrule smoke, severe weather, security, or emergency guidance.
- Do not start by moving windows automatically. Notifications are reversible and let a person check the real conditions.
- Do not use this rule as required ventilation. Carbon monoxide, combustion safety, indoor air quality, and building-code ventilation need purpose-built sensors and professional guidance where appropriate.
Tara's Practical Recommendation
Start with one room, one shaded outdoor reading, and two calm phone reminders. Keep the helper name and thresholds understandable enough that another person in the household can maintain them. Once the suggestions have proved useful, add a window contact and only the overrides you can trust.
A well-designed local system should keep the temperature comparison, contact sensors, and basic automation working inside the home during an internet outage, even if optional online weather or air-quality readings stop updating. Tara's configured Home Assistant system documents which parts stay local and which optional data still needs the internet.
FAQ
What temperature difference should Home Assistant use for an open-window reminder?
Start when outside has stayed at least 2°C, or about 4°F, cooler for 10 minutes and the room is at least 1°C, or about 2°F, above your comfort target. Close at the target or when the advantage narrows to 1°C, or about 2°F. Tune those numbers for your building and climate.
Does Home Assistant need a physical outdoor temperature sensor?
No. A nearby weather entity can prove the idea. A shaded, ventilated outdoor sensor near the house is usually more representative of the air entering the window. Keep it away from direct sun, hot walls, dryer vents, and air-conditioner exhaust.
Should Home Assistant compare humidity before recommending an open window?
Yes when moisture affects comfort, but compare dew point rather than the two relative-humidity percentages. Dew point is a better measure of the actual moisture in the air. Treat your chosen limit as a comfort setting, not a universal safety number.
Why did the Home Assistant window reminder not fire after a restart?
The 10-minute for timer starts over after a Home Assistant restart or automation reload. The condition must remain true for the full hold time again. Also check whether either source sensor was unavailable during that period.
Should Home Assistant open motorized windows automatically?
Start with notifications. Automatic movement needs dependable rain, smoke, obstruction, security, child and pet, heating or air-conditioning, and hardware safety controls. Never automate an egress window or rely on this comfort rule as emergency ventilation.