Short Answer: Fresh Install, Full Backup, Safe Restore
If you want to move Home Assistant from one machine to another, the safest path for most homes is simple: create a full backup on the old system, save the backup emergency kit, install Home Assistant cleanly on the new target, move your radios deliberately, and restore during onboarding.
That path now works much better than it used to. Home Assistant's January 3, 2025 release expanded restore support across all installation methods, and the current backup system is built to help with hardware moves instead of only disaster recovery. The goal is not to make migration clever. The goal is to make it boring enough that the lights, sensors, dashboards, and routines come back cleanly.
Tara's migration rule: treat backup keys, USB radios, storage size, and IP reservations as part of the home, not just part of the old box.
Why This Question Keeps Coming Up
The community keeps asking the same question in slightly different forms: moving from Raspberry Pi to mini PC, moving from an old VM to official hardware, moving from a Pi to Home Assistant Green, or moving after a hardware failure. Reddit threads and Home Assistant Community topics keep landing on the same pain points: people do not want to rebuild automations, lose radio pairings, or break remote access just because the hub changed.
The good news is that Home Assistant's official docs now explicitly frame backup restore as a migration tool, not only as a recovery tool. The bad news is that people still trip on practical details like storage size, USB device paths, network shares, encryption keys, and the temptation to "just move the SSD."
What Changed in Home Assistant Backups
If your mental model of Home Assistant backups is old, refresh it before migrating.
- January 3, 2025: Home Assistant 2025.1 overhauled backups with automated backups, encrypted backups by default, backup retention, backup locations, and restore support across all installation methods.
- February 5, 2025: Home Assistant 2025.2 added more backup controls, including Google Drive, Microsoft OneDrive, and Synology DSM locations, advanced schedules, and per-location encryption controls.
- March 26, 2026: Home Assistant announced that encrypted backups created after upgrading to 2026.4 use SecureTar v3.
- June 3, 2026: Home Assistant 2026.6 made the backup encryption key harder to miss and reiterated that backups are already created before updates, which only helps if you can still decrypt them.
The net effect is positive: migration is easier than it was in early Home Assistant days, but it is easier only if you have actually configured backups and kept the matching key.
Pre-Migration Checklist
Do these checks before you unplug anything.
| Check | Why it matters |
|---|---|
| Measure disk use and recorder size | Home Assistant's docs say the new device should have more storage capacity than the existing one. Oversized databases and media folders are common migration friction. |
| Download the backup emergency kit | The key is required to restore encrypted backups. If you rotated keys before, keep the old key paired with the old backup set. |
| Keep an off-device backup copy | A backup stored only on the dying box is not a migration plan. Home Assistant recommends another system and ideally an off-site copy. |
| Record USB radio paths | ZHA docs recommend stable /dev/serial/by-id paths rather than temporary /dev/ttyUSB0-style paths. |
| Note network assumptions | If mobile apps, remote access, or DNS point to the old host, keeping the same IP reservation can make the move much less disruptive. |
Step-by-Step Migration Path
1. Check the size of what you are moving
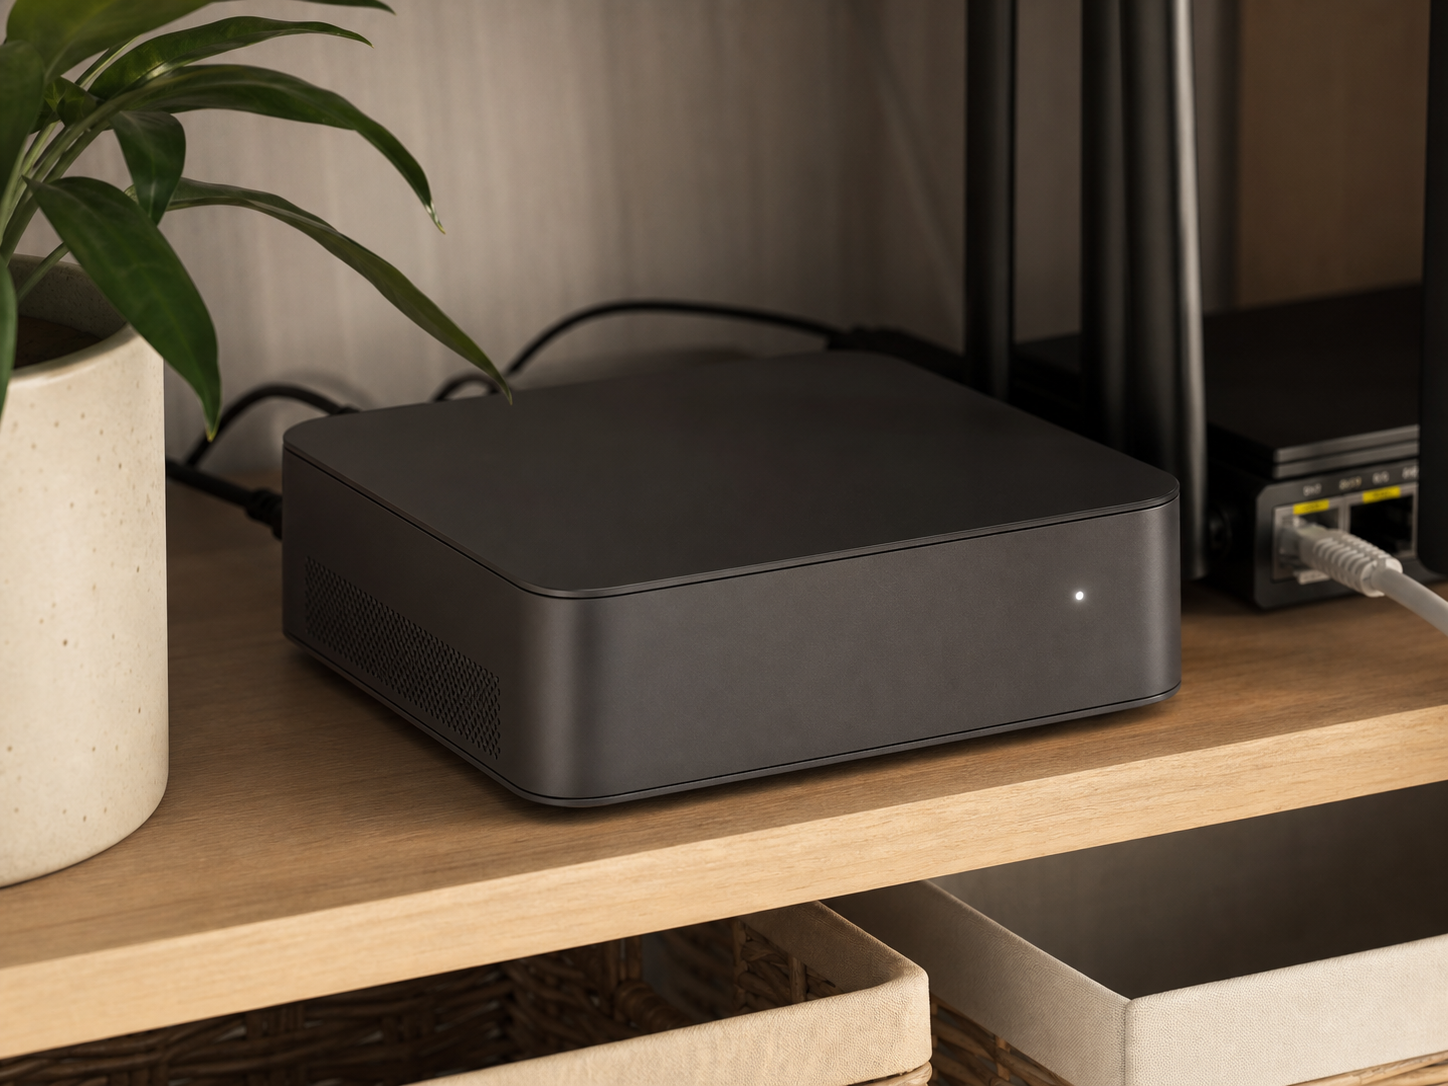
Home Assistant's common-tasks documentation says to check both the estimated recorder database size and total disk use before creating a migration backup. This matters most if you are moving onto smaller or fixed-storage hardware. The official Home Assistant Green migration guide, for example, reminds users that Green has 32 GB of storage, so your current installation needs to be smaller than that.
If the backup is bloated by old history, media, or unused apps, fix that before migration day. The docs also note that disabling media and the share folder can reduce backup size, but only exclude those if you know you do not need them as part of the move.
2. Make sure backups are actually configured well
Set up automatic backups if you have not already. Since 2025.1, Home Assistant can schedule encrypted backups and sync them to available locations. Since 2025.2, it can also use Google Drive, OneDrive, and Synology DSM in addition to local storage, network shares, and Home Assistant Cloud.
Two practical reminders matter here:
- Home Assistant Cloud stores one backup and that backup must be under 5 GB.
- When you download a backup through the Home Assistant UI, it is decrypted on the fly, so store that file like any other sensitive archive.
3. Create a full backup and save the matching key
For a whole-home hardware move, use a full backup. That keeps the migration intent clear and avoids selective-restore surprises. The official backup docs describe full backups as including your system configuration, apps, automations, scripts, SSL data, media, and other stored Home Assistant data depending on what you include.
Right after you create the backup, download the backup emergency kit and store it outside the Home Assistant machine. The official emergency-kit page is blunt: if you changed the encryption key and later lose the matching older key, there is no way to restore that encrypted backup.
4. Prepare the new hardware with a fresh install
Install Home Assistant on the new machine first and get to the welcome screen. That is the point where the restore workflow expects you to be.
Do not assume you can transplant the old operating-system disk into unrelated hardware. In a Home Assistant OS discussion about moving from Pi 4 to Pi 5, a maintainer said the installed OS build is for a single machine and that backup and restore is the intended approach when the hardware changes.
5. Move radios and serial devices carefully
Home Assistant's migration docs say that if you had controllers or radios connected, such as Z-Wave sticks or a Connect ZBT-2, plug them into the new device before restoring. This is where "the backup restored fine" often splits from "the home is actually working again."
If you use ZHA or any integration that expects a serial device path, prefer the stable /dev/serial/by-id path exposed in Settings > System > Hardware > All Hardware. That is the path Home Assistant's own ZHA docs recommend. If your setup still points to a temporary device name, a move or reboot can be enough to break it.
6. Restore during onboarding and wait
On the new system's welcome screen, choose to upload or retrieve the backup and restore it. Home Assistant's official docs estimate about 45 minutes for a larger restore, and the Green migration guide says larger restores can take about 45 minutes to one hour. This is not the phase to assume it is hung after a few impatient minutes.
If your goal is a full hardware move, avoid making the migration depend on partial backups. A February 2025 Supervisor issue showed that after a partial backup was restored on a new machine during onboarding, later partial restores could fail in confusing ways. That is not a reason to fear the backup system. It is a reason to keep the migration path uncomplicated.
7. Do a short post-flight checklist before calling it done
Once the restore completes, reboot once, then check the boring things that break real homes:
- Confirm the new machine has the IP reservation or DNS behavior you want.
- Check external storage and network-share backup locations.
- Verify Zigbee, Thread, Z-Wave, and Bluetooth integrations came back on the expected paths.
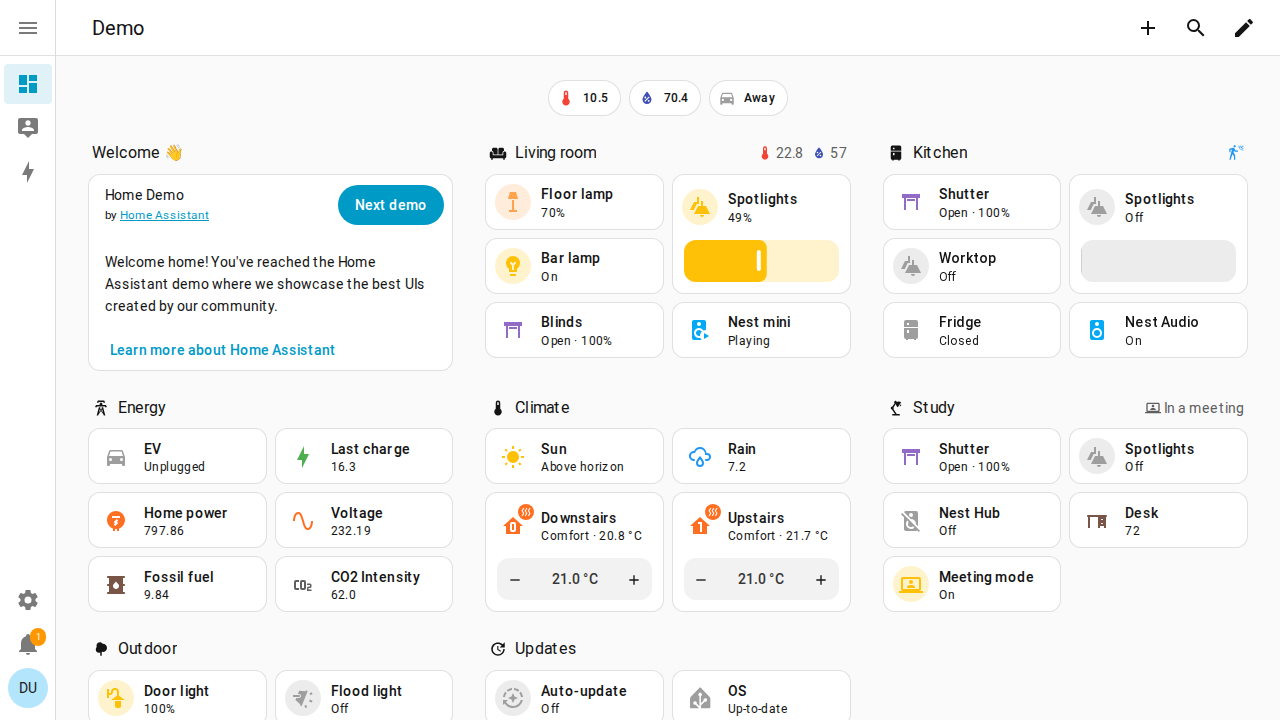
- Open the mobile app, dashboards, and key automations.
- Run a fresh backup on the new machine so the backup chain starts from the new host.
A Home Assistant Community migration thread specifically called out two touch-up items after restore: moving the old static IP to the new host and fixing the storage path for a Synology share. That is the right mindset. Expect a few environment-specific cleanup steps, not a heroic rebuild.
What Not to Do
- Do not rely only on backups stored inside the old hub. If the old disk dies, your migration plan dies with it.
- Do not throw away old encryption keys after rotating to a new one. Older encrypted backups still need the old key.
- Do not treat a temporary serial path as stable infrastructure. Use the by-id path when the integration supports it.
- Do not assume a whole-home migration is the right moment to get clever with partial restores. Use a full backup unless you have a specific, tested reason not to.
- Do not move the operating-system disk and expect it to boot cleanly on unrelated hardware. Fresh install plus restore is the safer lane.
Edge Cases That Matter
Moving to Home Assistant Green
Green is a clean migration target for many homes, but its storage is fixed at 32 GB. If your current installation has a huge recorder database, Frigate media, or oversized add-on data, trim or relocate that first. Otherwise the migration becomes a storage problem, not a restore problem.
If you already use an external data disk
Home Assistant OS has a separate workflow for migrating an external data disk to another system. That can be a better choice when the external disk is already carrying a large amount of data or far more storage than the new internal boot media. Even then, the official OS docs still recommend taking backups of both systems first.
If restore finishes but add-ons look broken
One GitHub migration discussion around Pi 4 to Pi 5 showed add-ons failing until the target machine was updated because the target image was older than the source environment. If a restore looks strange, check Home Assistant OS and Supervisor versions, then reboot and update before panicking.
If you are moving to a container or VM
Since Home Assistant 2025.1, restore is officially supported across all installation methods, including containers. That is useful, but it does not remove the operational chores around USB pass-through, stable device paths, and whether the new host will be as reliable as a dedicated home-automation box.
Tara's Take
The best migration is the one your household barely notices. That usually means backups already exist, the key is already stored somewhere sane, the new hardware was chosen with some headroom, and the radios were treated like infrastructure instead of afterthoughts.
For Tara-style installs, a dedicated local hub with clean storage, external radio placement, and tested restore procedures beats a clever one-off setup every time. The point of the migration is not that Home Assistant boots on new hardware. The point is that the home works again quickly and predictably.
Related Tara Reading
If you are moving Home Assistant because the system is growing up, these guides help with the next decisions after the migration is over.
- Best Home Assistant Hardware in 2026
- How to Access Home Assistant Remotely Without Port Forwarding
- How to Set Up a Fully Local Voice Assistant in Home Assistant
- How to Use AI with Home Assistant
- How to Run Your Smart Home Without the Cloud
- Home Assistant vs a Preconfigured Smart Home Kit
FAQ
Can I just move my Home Assistant SSD or microSD card into another machine?
Usually no. The safer path is a fresh install on the new target and then a restore. In a Home Assistant operating-system discussion, a maintainer said installed OS builds are not meant to be transplanted to different hardware.
Should I use a full backup or a partial backup for a hardware migration?
Use a full backup if you are moving the whole home. Partial backups are fine for selective recovery, but a February 2025 Supervisor issue showed they can create confusing follow-up restore failures during new-machine onboarding.
What if I lost the Home Assistant backup encryption key?
If you still have access to the current Home Assistant instance, you can download the emergency kit or copy the key again from backup settings. If you changed keys and lost the matching old one, the official documentation says there is no way to restore that encrypted backup.
Can I migrate from Raspberry Pi to Home Assistant Green, Docker, or a mini PC?
Yes. Since Home Assistant 2025.1, restore is supported across all installation methods, and the official docs say the target can be a different device type. The simplest homeowner path is still fresh install first, restore second.
How long does a restore usually take?
Home Assistant's docs estimate about 45 minutes for a larger installation, and Green support docs say larger restores can take about 45 minutes to one hour.